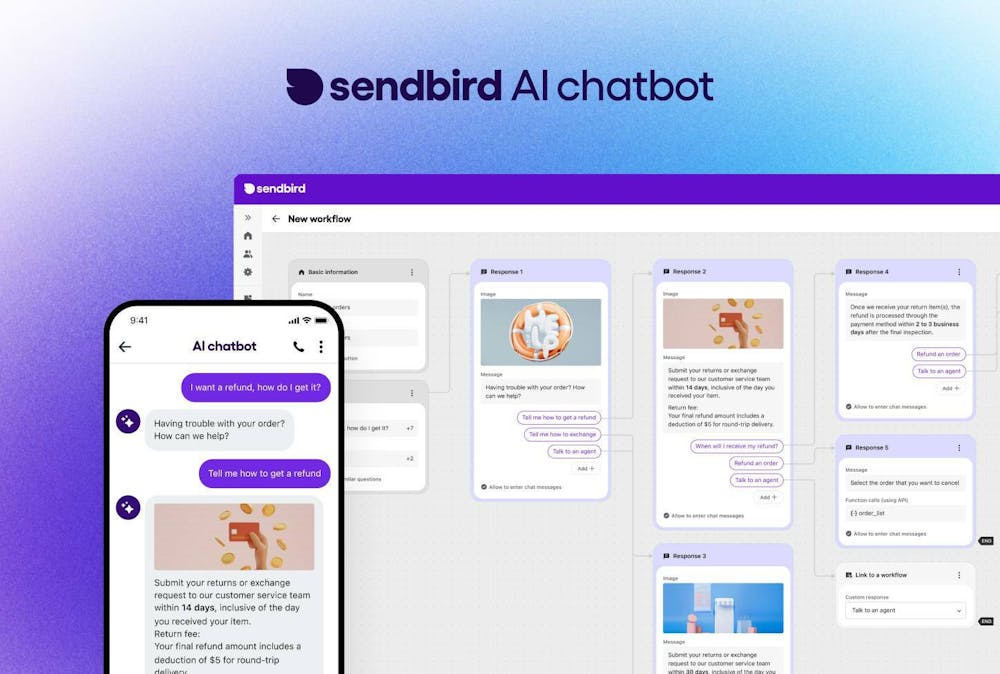
A Beginner's Guide to Easily Implementing Sendbird's AI Chatbot
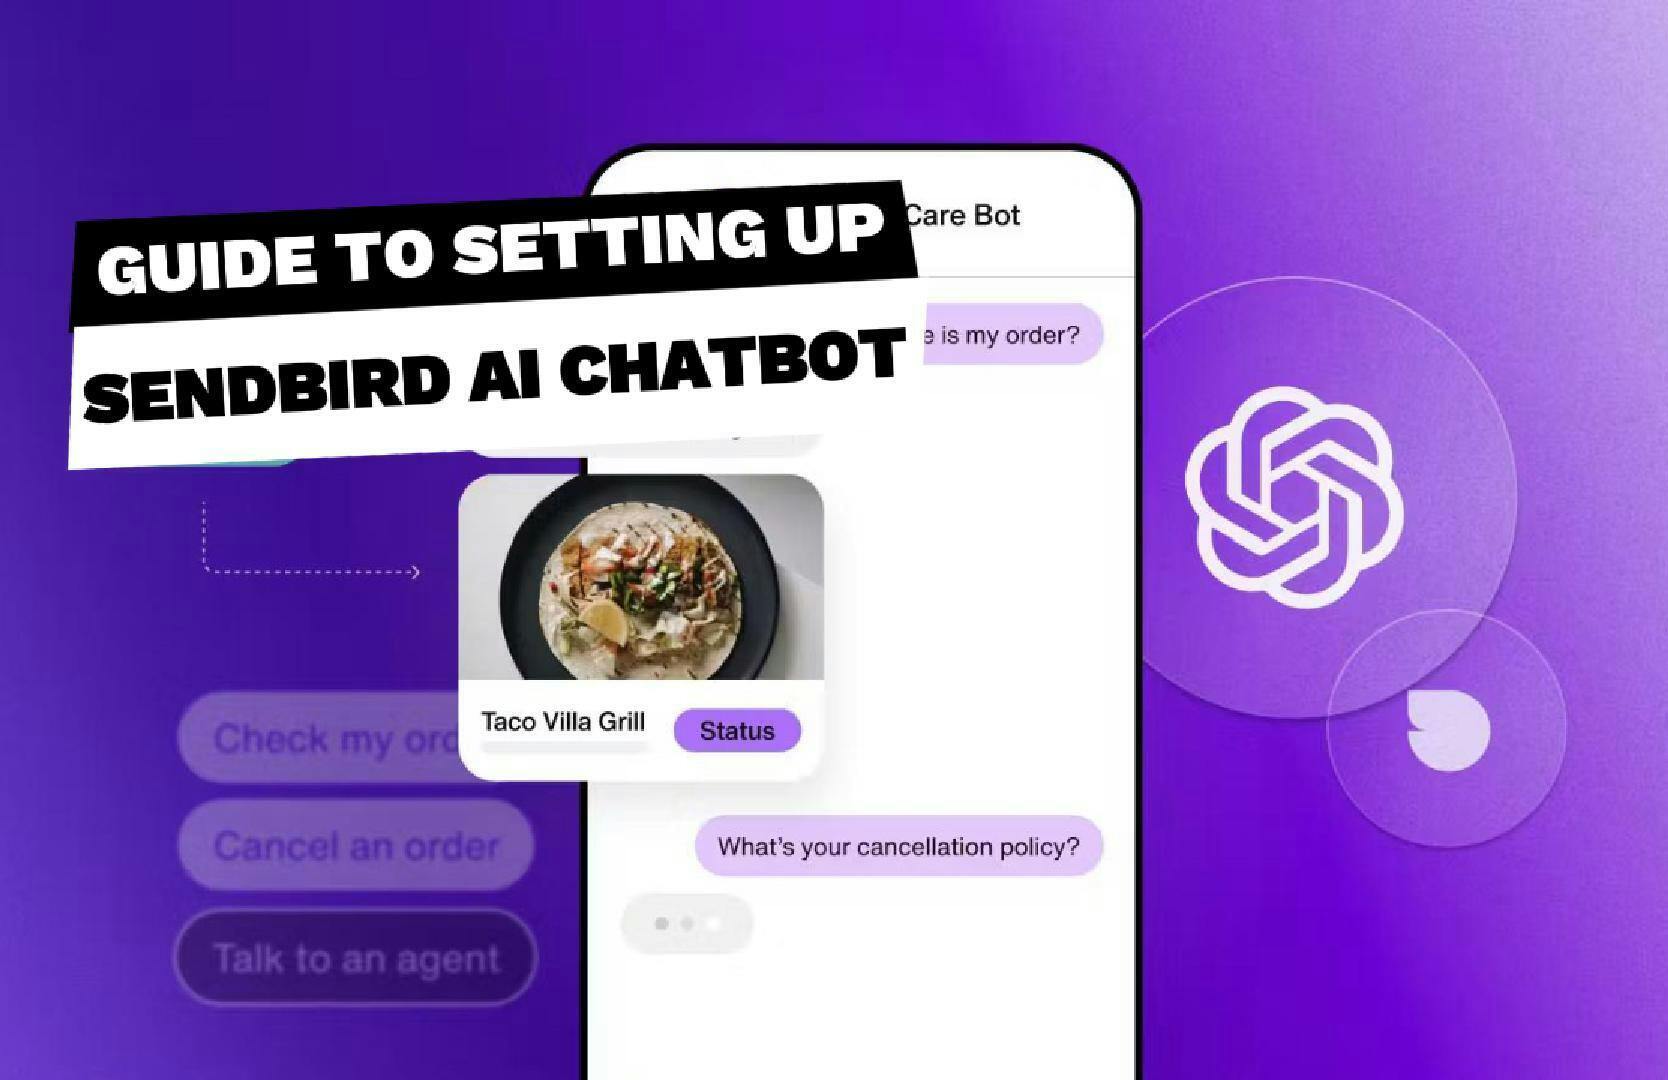
On February 27, 2024, Sendbird launched a chatbot service based on LLM and generative AI such as ChatGPT. Although it was announced as a no-code widget solution for websites, it seems more appropriate to call it a low-code solution due to the need to add a 'code snippet' to the website in the final step of the chatbot setup.
However, by following the onboarding process on the actual dashboard, even non-developers with no coding knowledge can design and configure the chatbot and insert the widget into their website within 3 minutes. In this blog, I will explain:
The detailed process of designing, setting up, and implementing the Sendbird AI chatbot
The real-world examples of how the Sendbird AI chatbot is used
The advantages of the Sendbird AI chatbot over directly connecting via API with foundational models like ChatGPT.
First, visit the Sendbird website and look for the 'AI Chatbot Product Page'.
You can enter the product page by clicking the banner at the top or selecting the AI chatbot from the Products menu.
Onboarding Process for Creating a Sendbird AI Chatbot
Sign Up
- Enter required personal information to sign up for Sendbird
Create Organization and Applications
To use Sendbird services, you need to create an Organization (Org) and web/mobile apps (Applications).
In the Create application step, the AI chatbot product is already selected, and for Region, you should choose the server located in or near the region you are servicing your customers.
Three Steps to Design Your Chatbot:
1. Setting Basic Information for the Chatbot
The first step in designing your chatbot is to set its basic information. You can customize the chatbot icon using your brand logo, and choose everything from the bot's name to the initial greeting message.
'Bot instructions' is a prompt menu that defines the chatbot's personality and identity, which can be changed later in the 'Manage bots' menu on the Sendbird dashboard. Besides the default OpenAI GPT 4 Turbo model, various LLM engines are available (more information can be found on the 'AI Chatbot Pricing' page).
2. Training the Chatbot
This step involves adding information such as FAQs and customer service information to train your chatbot. You can make your bot smarter by using specific URLs or files, and soon, a service that directly integrates with knowledge bases like Notion/Google Drive will be available. A subpage of a URL can learn up to 100 pages.
3. Customizing the Bot UI
Finally, you can set the theme of the chat window (light mode/dark mode) and specify the color of the chat bubble.
Completed Chatbot Preview
Well done for making it this far. After completing the three-step of bot setup, you can preview the completed chatbot. In addition to the pre-set messages (i.e., suggested replies), you can see how accurately the bot responds to questions about my personal profile (e.g., Who’s Sanghee?) based on the information from the pages it has learned.
By clicking 'View more' next to the trained domain, you can see a detailed list of the 100 subpages the bot has learned. If you wish to make changes in the future, you can modify them in the 'Manage bots' menu on the Sendbird dashboard or train the bot with new information.
Adding the Chatbot Widget to Your Website
After experimenting with the bot in the preview and if you like it, it's time to integrate the chatbot into your website.
1. Click the 'Add to my website' menu in the top right corner. We provide detailed guide documents for those who have created their websites using WordPress, Wix, or Shopify, even if some have built their websites through manual coding.
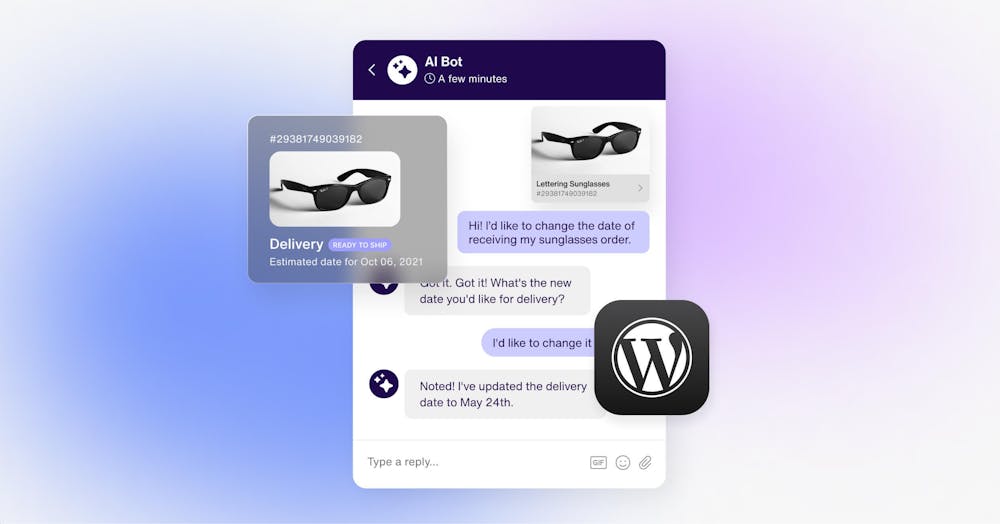
2. For WordPress, you can install a plugin (e.g., Code Snippets) in your WordPress settings menu that allows you to paste the code into the <body> section of your website without a developer, and select the 'Header & Footer' menu.
3. Paste the copied code snippet into the Body section, save it, and then return to the homepage. You will then see the chatbot integrated just like in the preview.
Challenges of Launching a Chatbot Service
The Sendbird AI chatbot stands out not just for its simplicity and ease of use but for offering a notably “smarter” chatbot experience. The direct use of foundation models like OpenAI's ChatGPT in businesses and services often brings about the challenge of hallucinations—misleading or inaccurate responses. Sendbird's AI chatbot, therefore, boasts of its ability to leverage the latest and most relevant information, ensuring responses of higher accuracy through RAG (Retrieval-Augmented Generation) and vector database technologies.
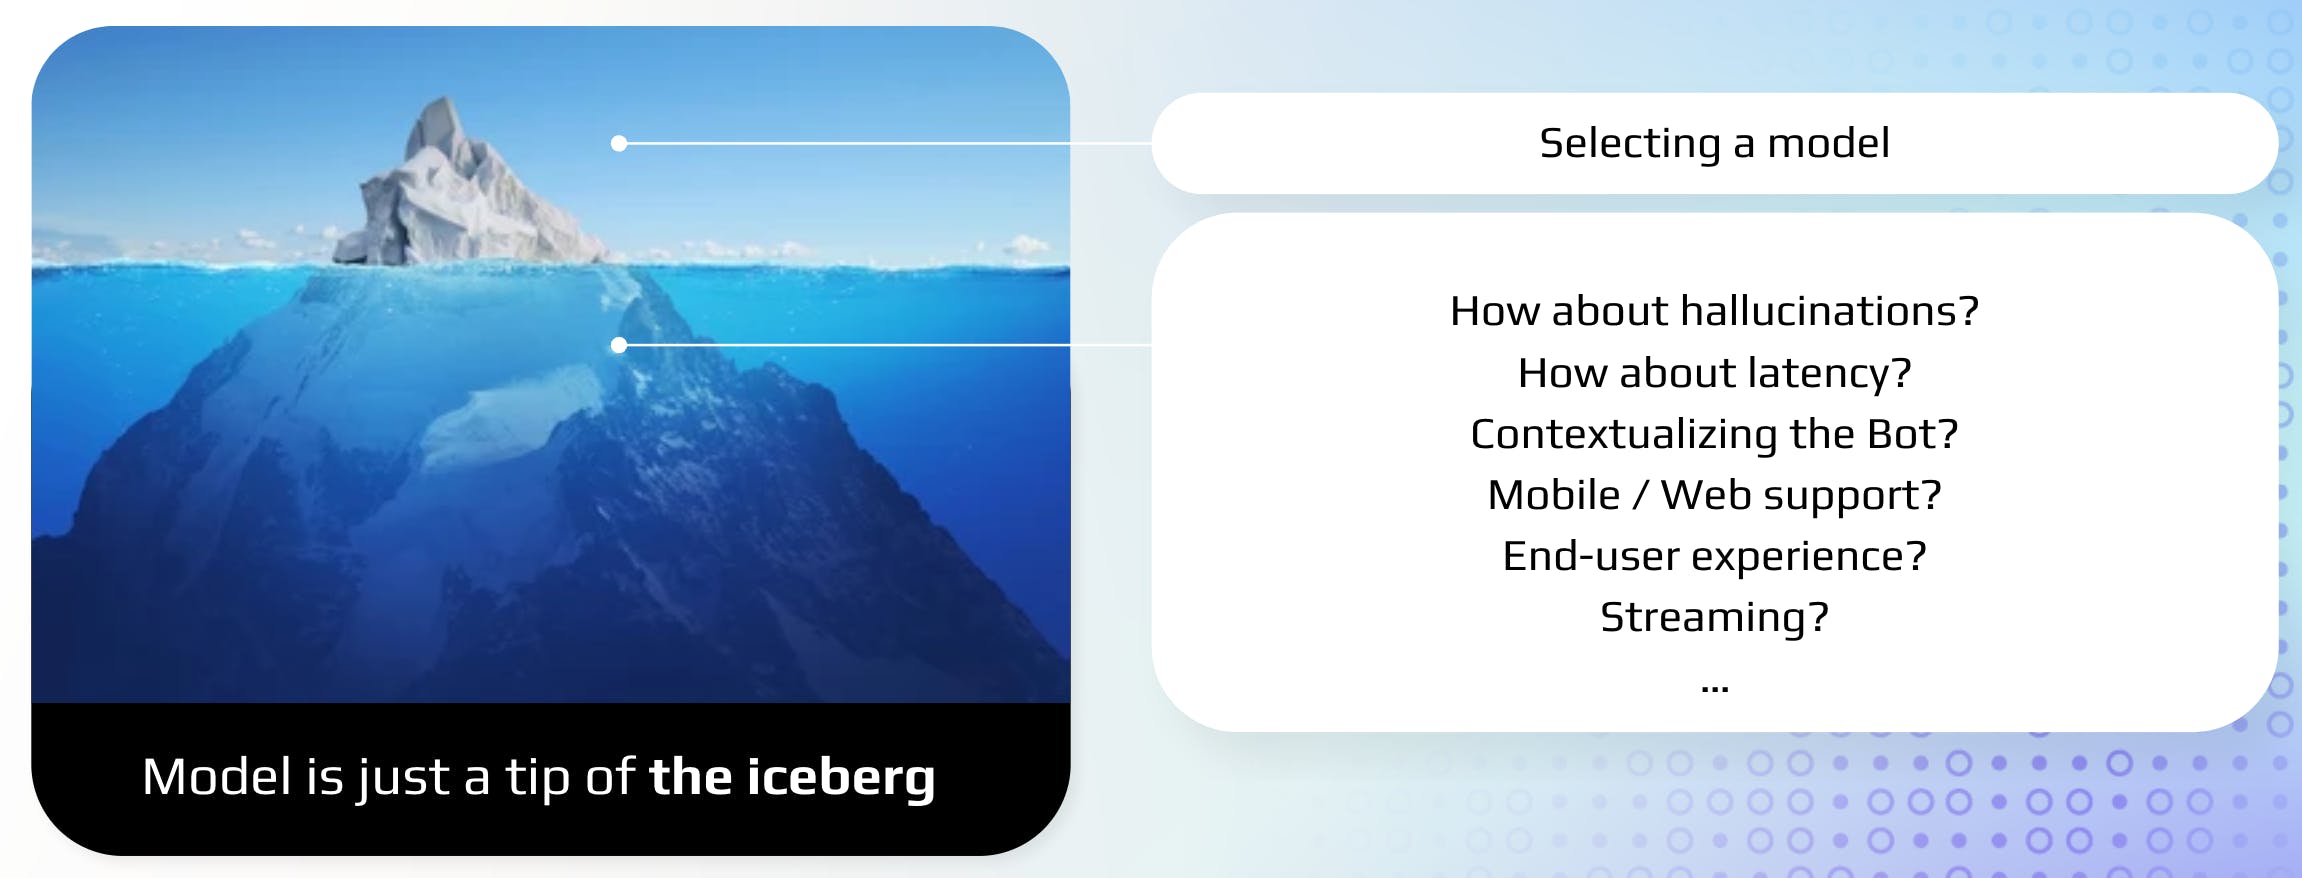
Furthermore, Sendbird employs a unique ‘Workflow’ feature within its dashboard. This feature acts as a safeguard, allowing for the pre-configuration of specific responses and actions for particular types of inquiries, thereby effectively preventing any hallucinatory responses.
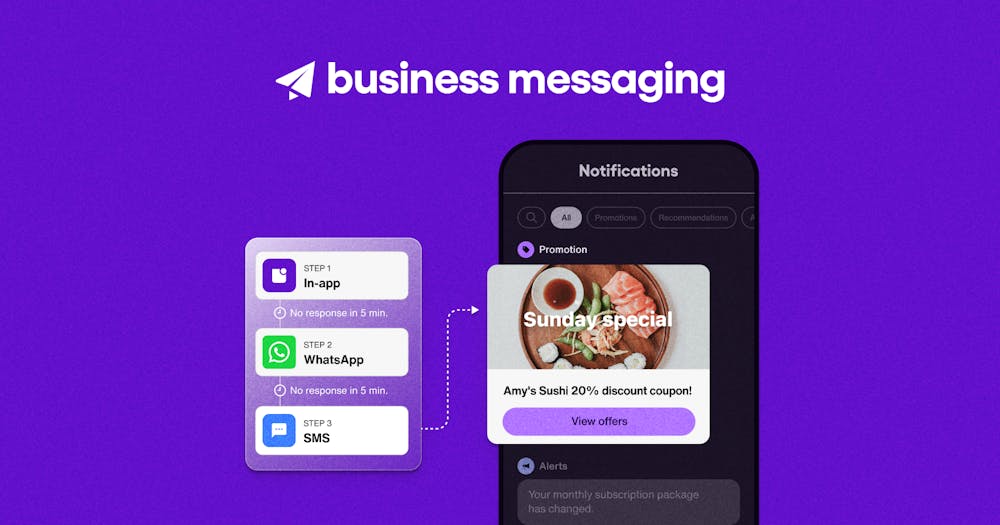
An additional differentiator is Sendbird's capability to utilize a variety of Bot UIs developed over its tenure as a global chat platform with over 300 million users. This allows for beyond basic customer service and FAQ functionality, such as facilitating sales through lead generation (e.g., via Form UI) and enabling product recommendations and curation (e.g., displaying products in a carousel format). This multifaceted approach distinctly sets Sendbird apart from providers of basic text-based chatbots.
In this blog, we explored the onboarding process that facilitates easy access to Sendbird's AI chatbot, even for those without any coding expertise. Designed with an emphasis on functionality and sophistication, Sendbird's AI chatbot aims for continuous improvement.
The dashboard's 'Manage bots' menu opens up possibilities for bot customization, such as learning from new data sources such as URLs/files and leveraging APIs (assuming external API integration) for functionalities like processing refunds or displaying external information. Future blogs will provide further insights into enhancing the capabilities of Sendbird's AI chatbot.

